Free Retro Bulb Pattern
Hello there my new quilting friend. I’m Erin Grogan of Love Sew Modern. I’m a modern, nostalgic loving quilt pattern designer and educator. I’m possibly best known for my love of designing quilts that involve piecing curves. It brings me so much joy teaching other quilters how easy piecing curves can be.
When I meet new quilters they sometimes tell me that they’re intimidated by sewing curves. Often they have a list of patterns they’d like to make that include curves, but they’re too nervous to begin. If this sounds like you, believe me you’re not alone. The not so well known truth about curves is that they’re a lot easier to sew than they appear.
There are so many great holiday patterns that involve sewing curves that makes this the perfect time of year to learn. From my own experience and from watching my many students work through the process I can confidently say that not every method works for everyone. You have to find the method that works for you. Personally I struggle when I try to sew curves with pins. This surprised me, because you’d assume pins holding everything in place would make it easier. I guess my inner, free spirited self is more confident when I can just wing it with the no pin method. What can I say? I’ve never been great at conforming. So this holiday season I’m sharing my favorite method of piecing curves with you.
Curve Terminology
Before we begin we should cover some curve terminology.
Convex: A curve that bends outward. You will see this on our A template piece.
Concave: A curve that bends inward. You will see this on our B template pieces
Right Sides Together (RST): This is when the two “pretty” or front of your fabrics are touching and you’re seeing the “ugly” or back side of your fabric.
Grain: Is the direction of the fiber weaves in fabric. The lengthwise grain runs up and down, parallel to the salvage. This is referred to as warp. The cross grain runs left to right, or from salvage to salvage. This is called the weft. The weft is made from threads woven over and under the warp threads.
Bias: When you cut the warp and weft at a 45 degree angle you create a bias grain. The great thing about bias is that it allows fabric to naturally drape around curves and to easily bend. The cautious thing about bias is that it can easily get stretched out of shape and become warped or mis-shaped.
No Pin Curve Piecing Method:
This is my preferred curves sewing method, but it is the most intimidating to quilters who are new to curves. For this method you won’t mark or pin anything. The most important thing to keep in mind is to not stretch your fabric. Remember that thing called bias we talked about? Because of the natural bias created in curved piecing it can be a little too easy to over stretch fabric pieces. Take your time and remember it’s supposed to be fun.
Place pattern piece A(convex curve) and pattern piece B (concave curve) RST with pattern piece B on top and pattern piece A on the bottom. To help me remember the directionality of the pieces I think of pattern piece A being in the direction of a “D” and pattern piece B being in the direction of a “L”.
2. Using a ¼” sewing foot sew the pieces together along their concave and convex curved edge. I work about 1 inch at a time, slowly easing the concave edge to line up with the convex edge. I like to think my fingers are the replacement for my pins.
3. Using scissors, snip into the seam allowance, ensuring not to cut into the stitching. You will want to snip into the seam about every inch. This allows the curve to be able to open up and lay flat once the block is pressed.
4. Press the block towards the template B piece. Be sure you’re pressing and not ironing the block. Due to the bias edges in the block pushing the iron around will stretch out and warp the block. Now you will trim your block to the size as instructed in your pattern. That’s all there is to it.
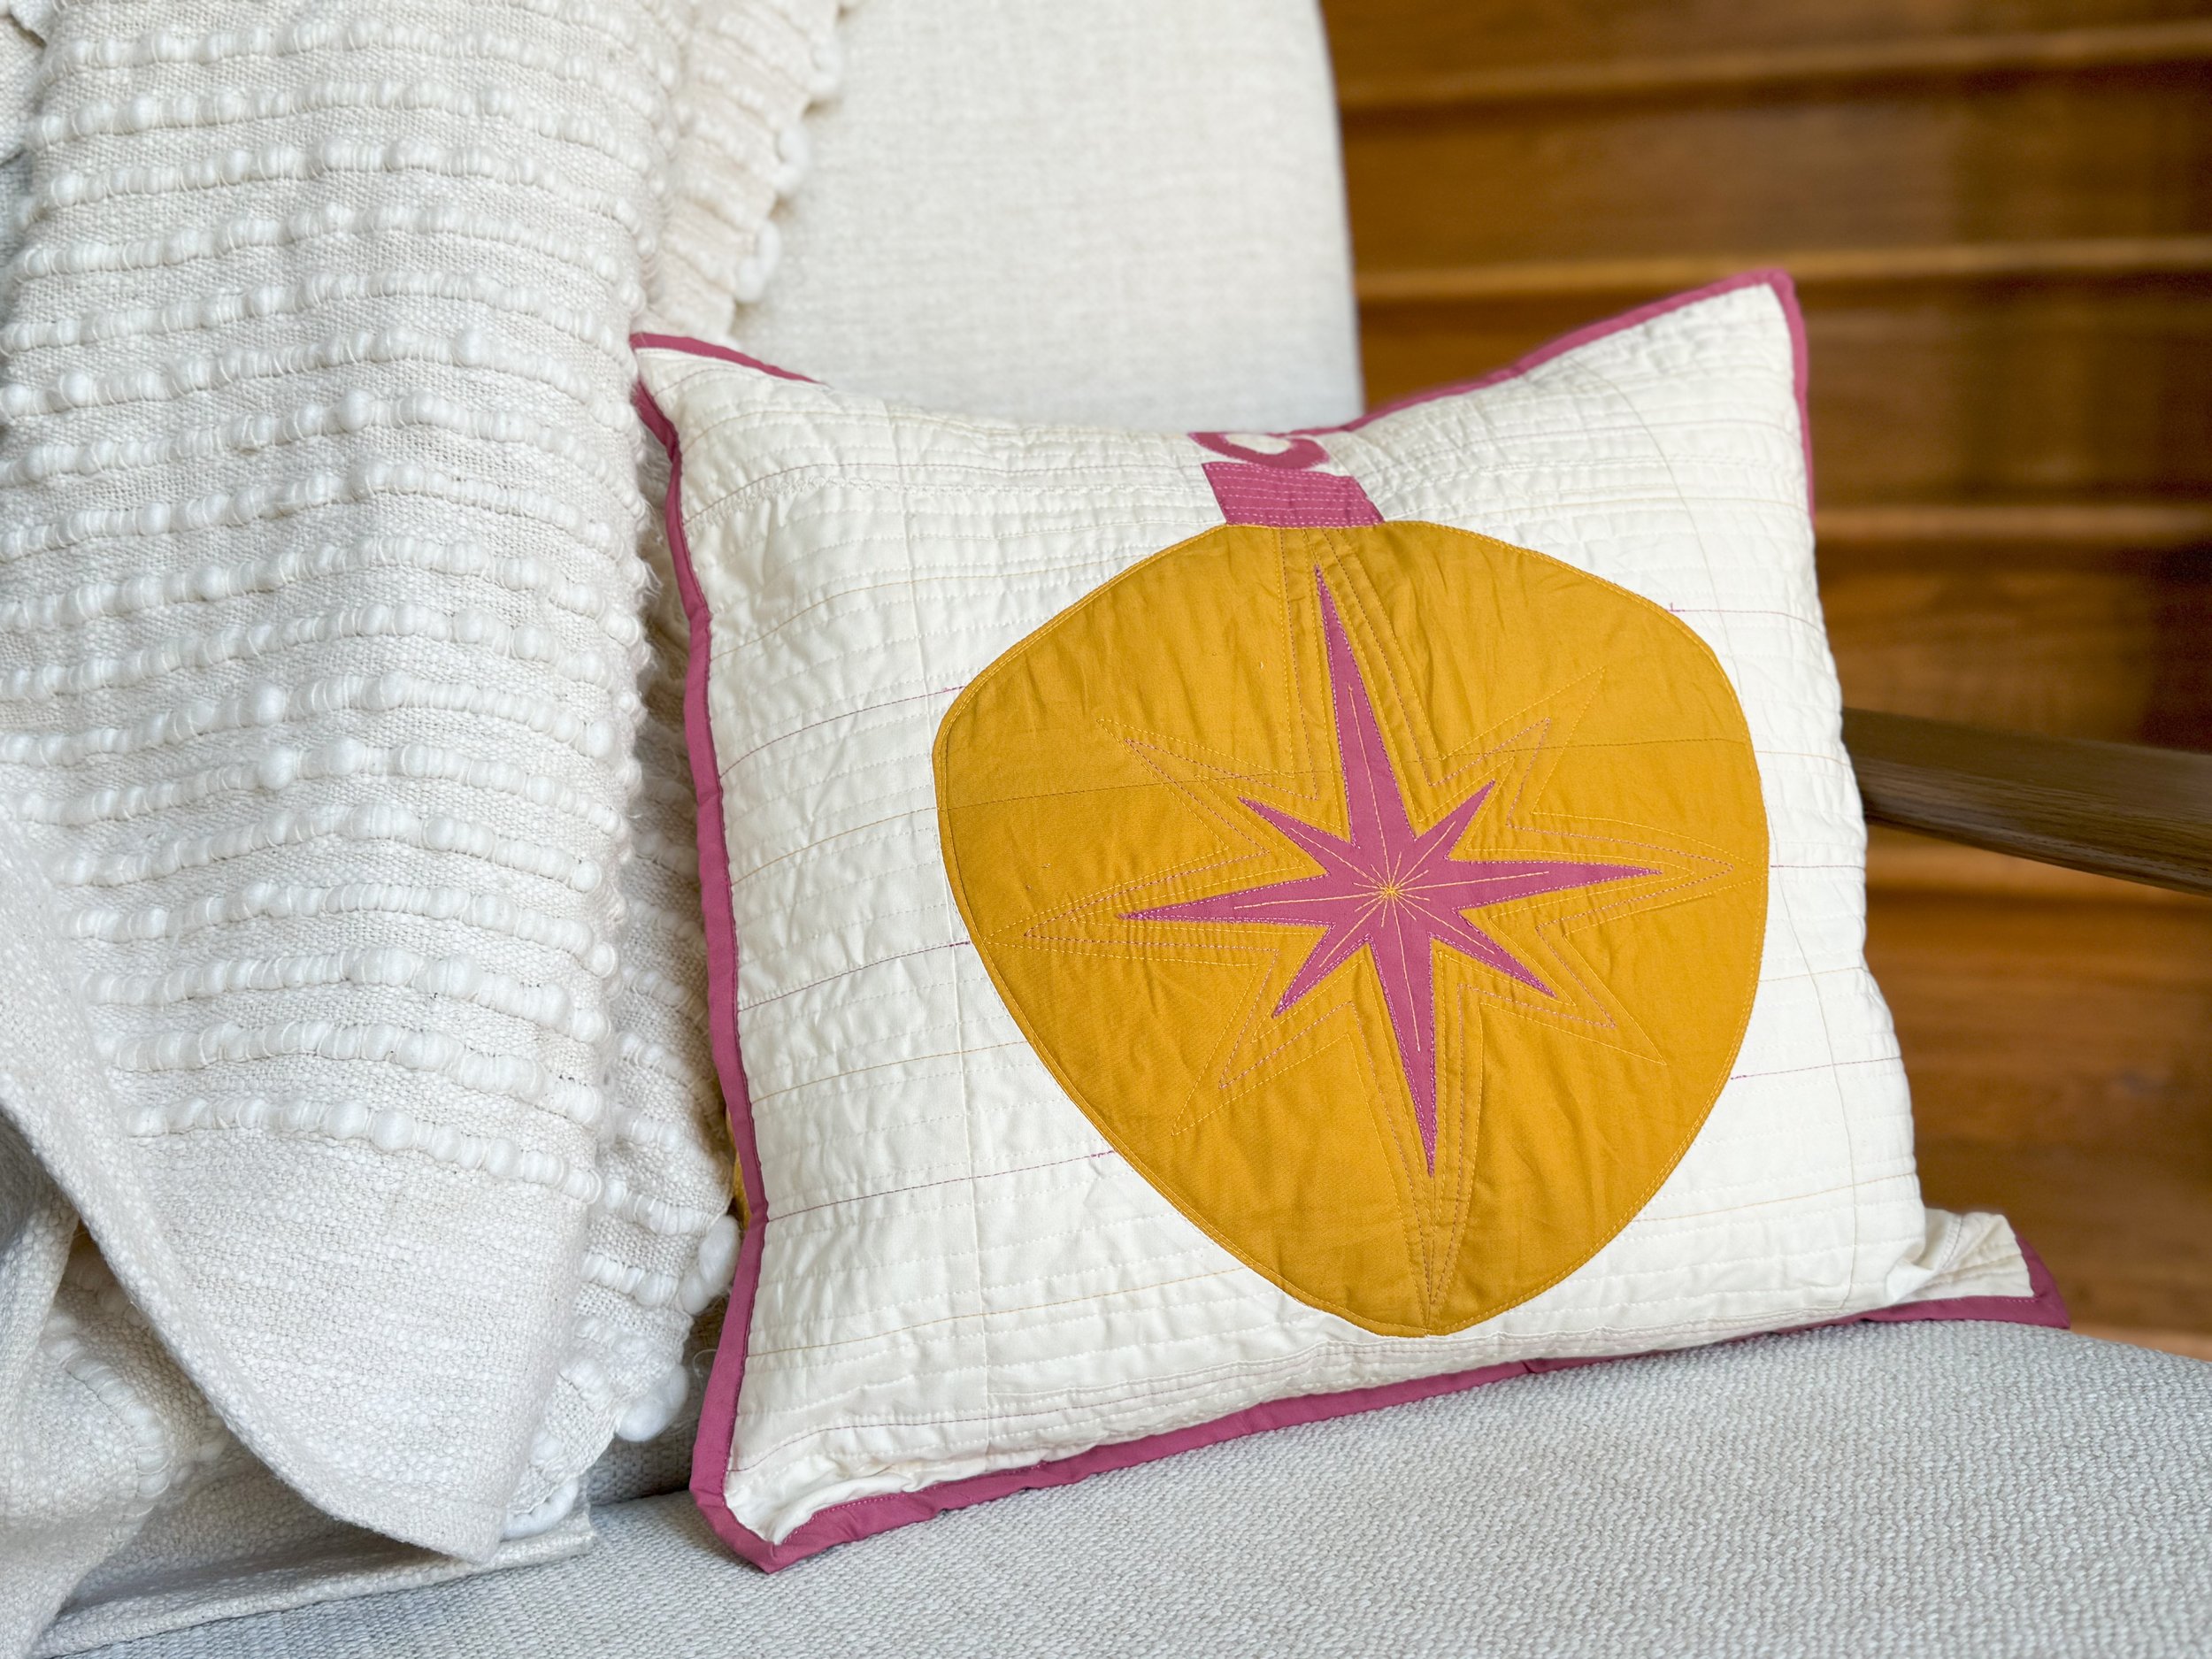
Are you ready to put your new curve piecing stills to the test? I’ve created a fun holiday ornament block for you to try. I call this pattern Retro Bulb and it creates an 18” square pillow or a lovely holiday wall hanging.
You can grab the pattern for free HERE.


